Saturday, March 7, 2015

What Just Happened?

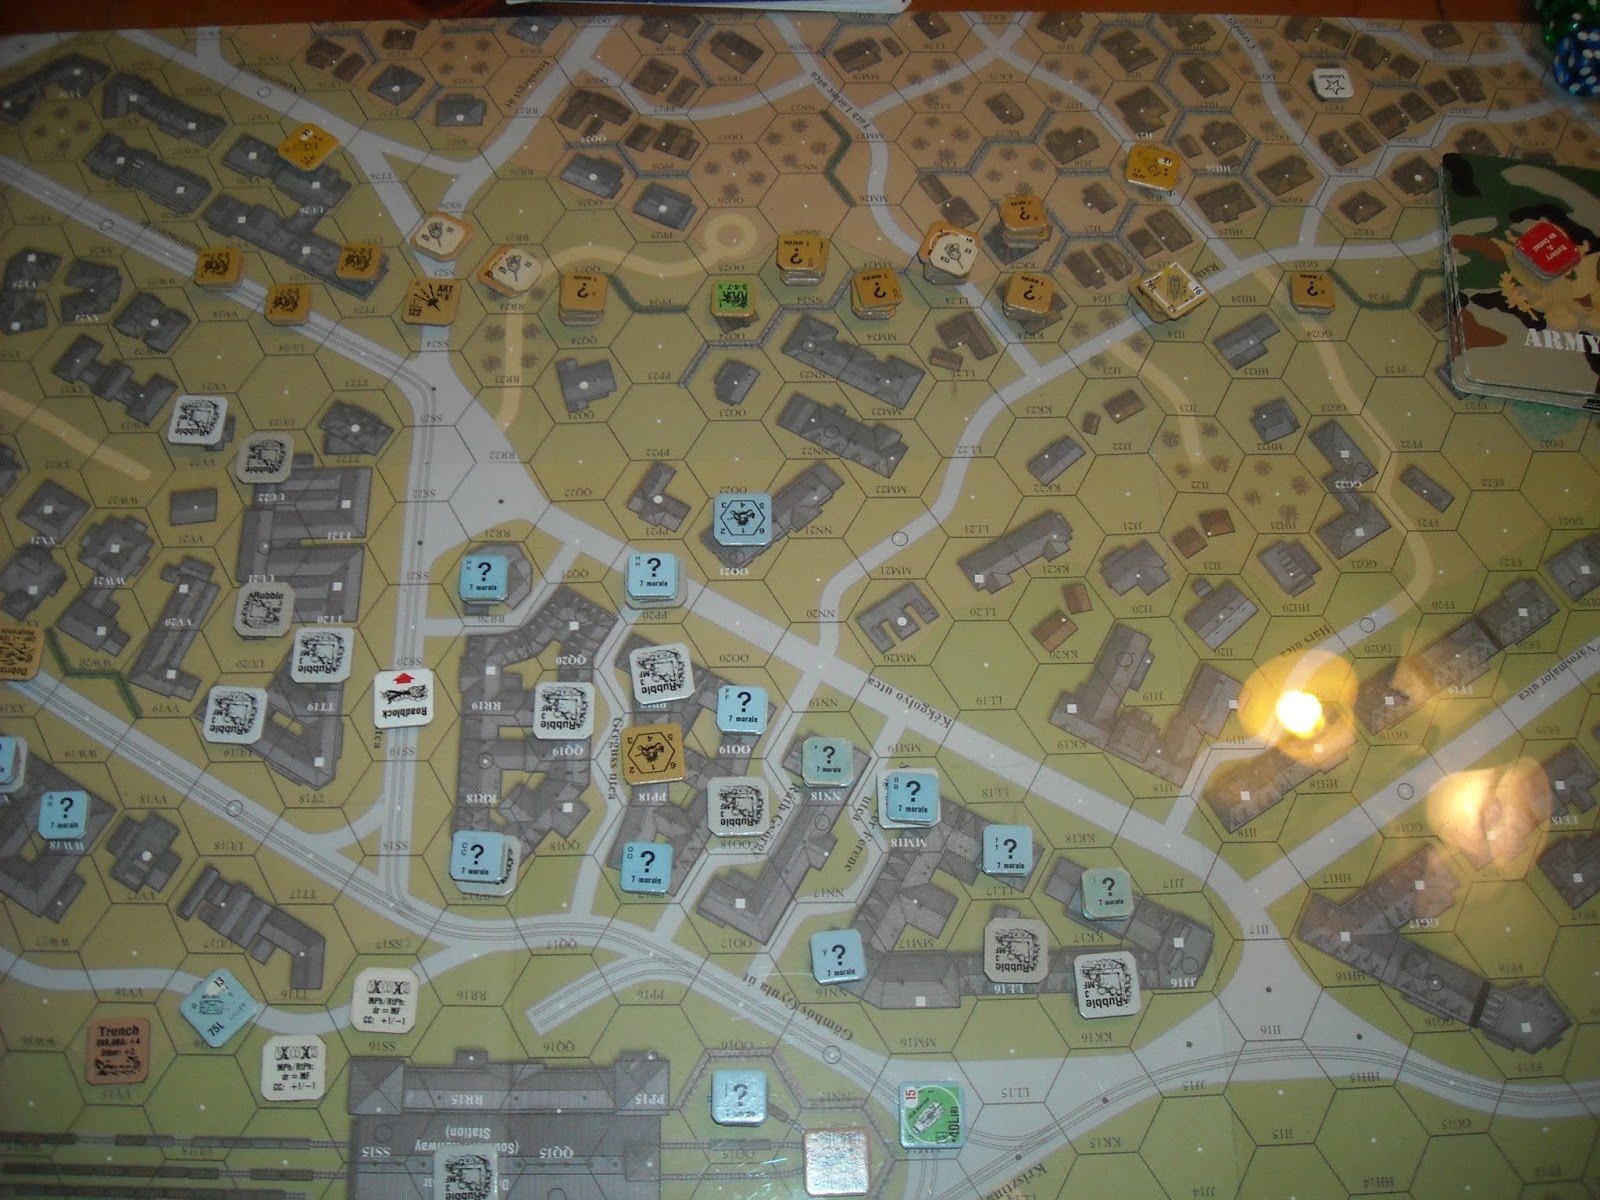
  Jim and I got in our playing of 165 Nothing But Courage with plenty of time to spare, because I conceded after 3-1/2 turns. I had the defending Russians, and I honestly don't know how the Russians have a chance in this.
   I spread out my defense at start. I think this is a requirement, as the Finns get three FFEs in turn 1, If they manage to catch a bunch of squads, or worse a few tanks, that's a disaster. The alternative, however is also terrifying: spread out on No Move counters and watch as the ski equipped Finnish supermen out maneuver, and slice and dice your troops. Lots of surrendering. Lots of pain.
   The Russians have 5 AFVs, but they must begin the game Abandoned, with their crews outside (again on No Move counters.) I admittedly have not studied this battle, but from the bit I did read about it, I do not see the historical justification for the No Move / Abandoned tank SSRs. This scenario appears to have been designed by someone has a sadistic dislike for Russian soldiers.
   

Thursday, March 5, 2015

Let Me Finnish

    Getting ready to take on my first Hakkaa Paalle scenario, and just my second scenario of any kind since last summer. We've selected 165 - Nothing But Courage. The scenario is based on a Finnish counter attack of Russian positions near a rail station in Honkaniemi, Finland, 1940, a battle which featured the only Finnish tank action of the Winter War.
   We chose sides randomly and I got the defending Russians. I fear my dice are already betraying me. I'm often wrong about favored sides when eyeballing a scenario, but at first glance this seems a bit hard on the Russians.Though the sides are roughly equal in quantity and quality, the Finns have a lot of things going for them. For starters, there's a very restrictive SSR which puts the Russians on No Move counters for up to three turns. The Finns also get three (!) FFEs as a pre game bombardment. They have skis and winter camo.
     Of course, these aren't just any Finns. These are ASL Finns, which means they can self rally, deploy and recombine without a leader, and fire a rifle with one hand while building a snow hotel with the other.


     The early results on ROAR have this as 2-0 favor of the Finns. Sure, it's statistically meaningless, but I still would like to have seen a Russian victory there.
    But enough pre-game whining. I'll save some for for Saturday.

Wednesday, March 4, 2015

The Hakkaa and the Paalle

Finaally Aarrived.


Saturday, July 19, 2014

AP 89 To The Pain: Quick AAR

  Was able to sneak in a playing of this scenario from AP 9 last week. Jim and I both thought it was a very strong scenario.

     The Gurkha player has multiple possible victory conditions. There are five way in which they can acquire a VP, and they are potentially rewarded for achieving them quickly.

    The Gurkha player wins if he has 1 VP by the end of turn three, or 2VP by the end of turn 5, or 4 by the end of the 6-1/2 turn game. I thought from the start that 2VP by turn 5 was the most plausible path to victory, and set my timetable accordingly. The big catch is that there is a CVP cap of 12 on the good guys.

      The bulk of my infantry was set up on board. I max-deployed and then deployed some more during the rally phase. Jim was set up with the MMG looking straight down the road that divides board 62.
 
    Over the first few turns I sent some infantry up both sides of the road toward the MG nest, and a larger force pushing hard to the east and board 8b. I had three vehicles set up on board, and brought the others in on the west edge. The mortar carrier took up a position to bring fire and smoke on the MMG, while two others moved put the northern edge.

    I lost three vehicles. Two to the Japanese guns, and one to a tank hunter hero. All were crewed  vehicles so the defenders racked up 6 CVP just on vehicle crews. By the end of turn 4 I had all but eliminated the group around the MMG in the center, and had broken through in the east with a large force. There was good chance to take the 8bCC13/CC14 VP area in the next turn. Unfortunately, Jim had done some damage, and I was right up against the cap.

      When his wounded leader took out a half squad in HTH CC, we were done.

       The major mistake I made in this was bringing all of the vehicles into the fight. The mortar carrier is an effective jungle weapon and needs to be used from the jump. The other vehicles however, serve as little more than Japanese CVP opportunities. If I had it to do again, I would keep them off board for several turns, or at least until I had located the Japanese guns.

    The other issue is all the deploying. While I think it is an effective strategy in several ways, there is a trade-off. Half squads are much easier to pick off in CC, which matters a lot in a CVP capped world. I should have been more careful to keep the halfies out of CC when possible.

    Jim and I both like the scenario a lot. I'm looking forward to playing more from this pack.


Sunday, July 6, 2014

Don't Call It A Comeback

    Been a while since I've played any ASL, but I got my copy of "To The Bridge!" this weekend. Looks like another group of solid and inventive scenarios from Mr Fortenberry and company.

     Although real life has me busier than I have ever been, I think I really need to start trying to squeeze some games in here and there.


Sunday, September 1, 2013

Ear Worm

I've been walking around this morning humming "Festung Budapest" to the tune of Eric Clapton's "Mainline Florida." I should probably be on some kind of medication for that.

Wednesday, August 7, 2013

FB 15 The Taking of Object 59 AAR

   My opponent, Jim, and I sat down for trip into Budapest. This time we picked out FB 15: The Taking Of Object 59. This is one of the meatier scenarios from Festung Budapest, but still entirely manageable. (Jim and I knocked it out in a tidy 6-1/2 hours.)

    The Russians, with some help from the Buda Volunteer Regiment, need to either capture three buildings on the German left, or the "Object 59" of the title, the Southern Railway Station. They've got a pretty tough and well equipped force of nearly twenty 1st line and elite squads and four T-34s. They've also got two big artillery pieces on map plus battalion mortar OBA.

   The defending Germans have ten SS squads, half a dozen Hungarian squads, two guns and some ad-hoc armor support. The Germans also have some pretty serious ammo shortage, fuel shortage, and food shortage limitations. But mostly they have good defensive terrain in the rubbled city.

   I set up the Hungarians on my left flank, backed up by the Zrinyi overlooking the crest line behind them. The SS went on my right. The infantry giving ground at start, setting up 4-5 hexes behind their limit.  The food shortage has the effect of making double time N/A, and I was worried about my ability to fall back.

    I had a HIP schrek toting half squad in the cellar of JJ16 (corner property), and another with the DC on the 2nd level of MM16, hoping to get a chance to toss the demo charge at a passing tank. I was keeping my armor protected in the rear for now.

    Jim set up mostly on my right, opposite the SS.


       Jim used his big guns to fire on the center roadblock. The rubble and roadblocks really constrict tank movement, and getting a roadblock out of the way opens it up a lot. Other than that and possibly firing smoke, it's hard to know what else to do with those guns. They come with trucks to tow them forward, but that is some pretty high risk driving. Leave it to a professional, on a closed course.

      No big surprises through the first few turns. The Russians ground forward as the Germans fell back. At one point, near the center, I got a little aggressive in moving a squad forward  into CC. I was hoping to win the CC and be rewarded by picking up the Russian .50 cal left behind by a squad who routed away. Instead we had a melee, which Jim fired a T-34 into next turn, breaking my squad and leaving his not only unharmed, but frankly even feeling pretty good about things.


 I pulled most of my Hungarian squads back and started moving for the station that Jim was obviously going for. It was still early enough that i didn't feel comfortable selling out completely. I tried to move the Zrinyi into a better spot, but rolled up an empty gas tank. It's war was over.

   Jim kept his Russians grinding forward and moved a T-34 to challenge my Panzer IV which was holding up the right.

   I foolishly kept my HIP schrek boys hidden trusting the tankers to handle it. They whiffed and payed for it with an APCR round right through the turret. The Nimrod a few hexes away never had a prayer. I moved my Panzerschrek team up to the ground floor looking for a better shot. They took some fire and generated a hero who took over Panzerchrek operations. In advancing fire he burned the T-34 on his first shot, but the backblast killed him and the half squad. Still, a halfie for a T-34 is a trade I will make.

Jim blew up the center roadblock and redirected two tanks up Broadway. They took out the Hetzer which had retreated into the station.

He tried to tow his guns up to a better location, but the lead one was taken out by small arms fire, and the second one couldn't find a safe way forward.   

We settled in for the endgame. Jim had his kill stack in the rubble of RR17 and his radio man next door calling down artillery requests.

    I revealed my 75* infantry gun in the fortified 2nd level location  of VV12, with good LOS over the station to the buildings opposite, and a few street locations as well.

    I had managed to get about 5-6 squads back into the station, and spread them out. During the next turns, those squads skulked back and forth until the battalion mortar fire came down and kept us out of the forward hexes. Jim got some troops into the walled area east of the station, and we were set for an exciting last few turns.

     Jim canceled his fire mission to give his troops a chance to cross the street. My fourth fortified location was in the northwest corner of the station. The Hungarian squad there stood up to all the fire the Russians could dish out, but finally broke when Jim sent a T-34  crashing in and overrunning in the last turn charge.

     A second T-34 moved through the station to try to overrun another squad. Squads nearby took two panzerfaust shots at it, missing both, before finally connecting and burning it on the third.  At that point Jim conceded, as he just didn't have enough troops to reach all the hexes he needed.


      Jim and I both really dug this city brawl. It could have very easily gone the other way. I was pretty circumspect in choosing my shots keeping the ammo shortage in mind. A few squads were reduced, but none went all the way to conscript, and all of my MGs stayed in working order until the 6th turn. The food shortage makes the SS supermen a little less super, reducing their broken side morale, but it's still an eight! Hard to complain too much about that.

      I had previously played two FB scenarios, and liked them just fine, but this one really does seem a cut above.  Based on this playing, I hope to play a few more Budapest scenarios in the near future.

(Note: Also check out Ian's AAR here)